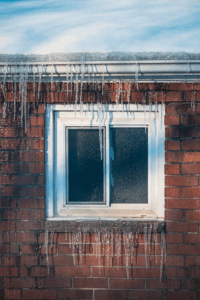
Even the best windows can fail if they’re not installed with proper moisture control. Water that sneaks behind a frame can quietly cause rot, mold, and structural damage long before you notice it. The key to avoiding that scenario is understanding how moisture management works.
Modern homes rely on an integrated system of weather barriers, flashing materials, sill pans, and sealants to keep water out and allow walls to dry properly. When these parts work together, they protect your investment and help your home perform the way it should.
How Moisture Protection Works
Moisture management is not a single product – it’s a system. Each layer has a specific purpose, and together they form a continuous drainage path around the window opening.
- Weather-Resistive Barrier (WRB): Often called “house wrap,” this sheet material forms the primary drainage plane for your home’s walls. It stops liquid water while still allowing moisture vapor to escape, which prevents trapped humidity inside the wall cavity.
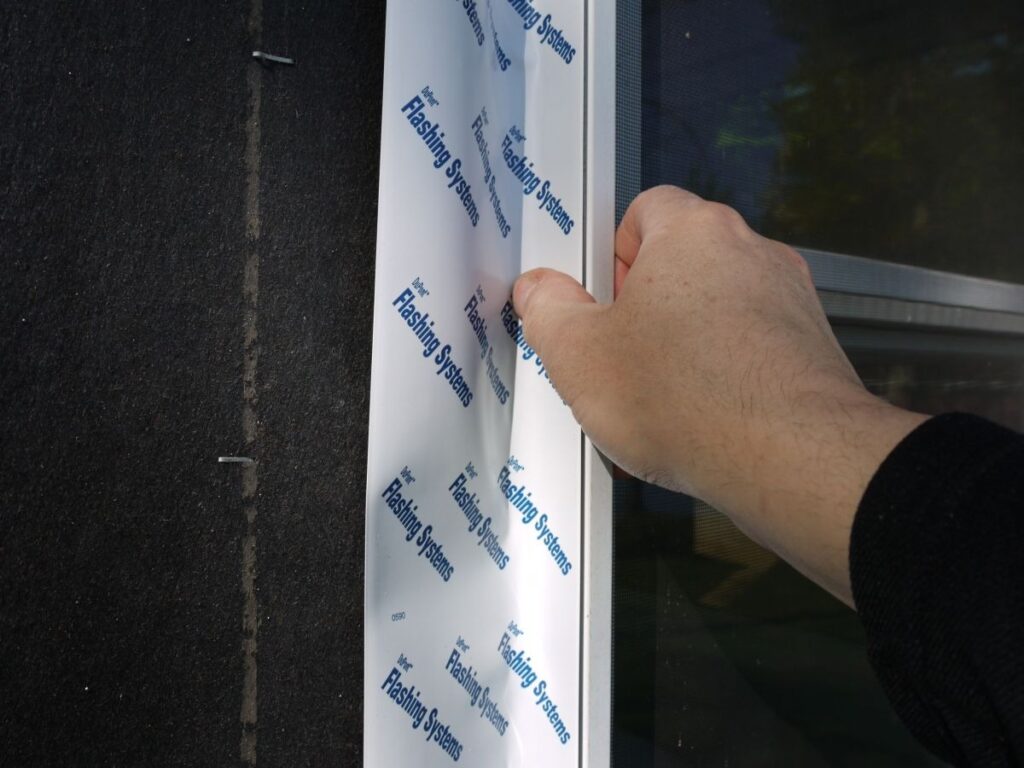
- Flashing Tape: A self-adhesive, waterproof membrane applied around the window’s perimeter. It bridges gaps between the frame and the WRB, sealing potential leak points while channeling any water downward.
- Window Pans (Sill Pans): A sill pan is a U-shaped flashing piece installed at the bottom of the opening. Its role is to catch and drain away any water that slips past the window itself. It’s an essential detail for every proper installation.
- Sealants: The final line of defense. High-quality exterior sealants close off the outer edges of the frame, keeping out wind-driven rain while still allowing for thermal movement.
Together, these components act as a managed system – not a perfect seal. Their goal is to shed water, not trap it. The Whole Building Design Guide explains that effective moisture management relies on continuous drainage paths, properly integrated flashing, and vapor-permeable WRBs that allow walls to dry naturally.
Why It Matters

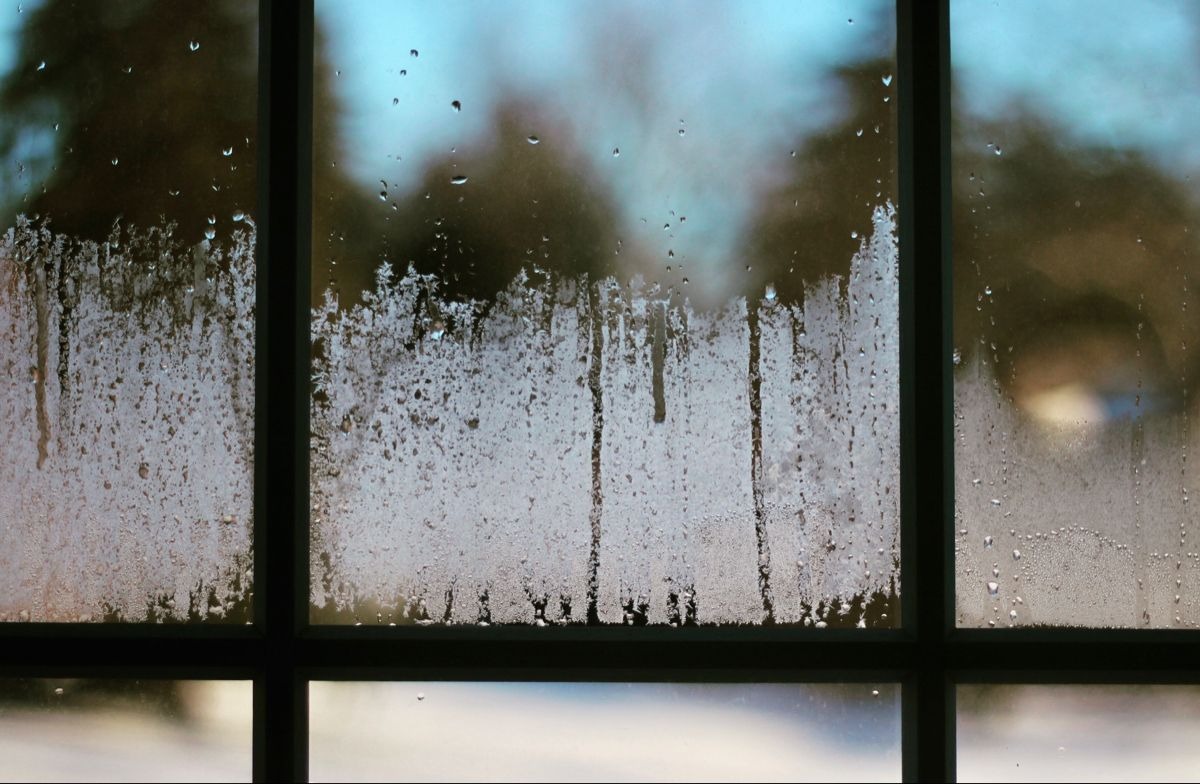
Leaks are rarely dramatic. They often start as small gaps or poorly sealed edges that allow moisture to enter gradually. Over time, that hidden water causes serious and expensive problems.
- Prevents structural decay: Moisture trapped inside a wall leads to soft framing and discolored sheathing.
- Reduces mold risk: Persistent dampness invites mold growth that can spread quickly.
- Improves efficiency: Gaps that allow water also let conditioned air escape, undermining insulation.
- Extends window lifespan: A well-sealed and flashed window performs better and lasts longer.
Proper moisture management doesn’t just protect against leaks – it preserves comfort and long-term value. The U.S. Department of Energy notes that uncontrolled moisture inside walls leads to heat loss, mold growth, and deterioration of framing materials over time.
Comparing Flashing Tape Types
Not all flashing materials perform equally, especially under Canada’s varied climate conditions. Here’s how common options compare:
| Parameter | Butyl-Based Tape | Acrylic-Based Tape | Modified Bitumen (Asphalt) |
| Adhesion | Excellent | Very good | Moderate |
| Cold-Weather Use | Fair (stiff in cold) | Excellent (sticks in low temps) | Poor (requires primer) |
| UV Resistance | Low (must be covered) | Good | Low (must be covered) |
| Cost | $$ | $$$ | $ |
Acrylic tapes are ideal for cold-weather applications, while butyl-based versions work well in moderate climates. Always match your tape type to both your WRB and the installation temperature.
Steps for a Reliable Installation
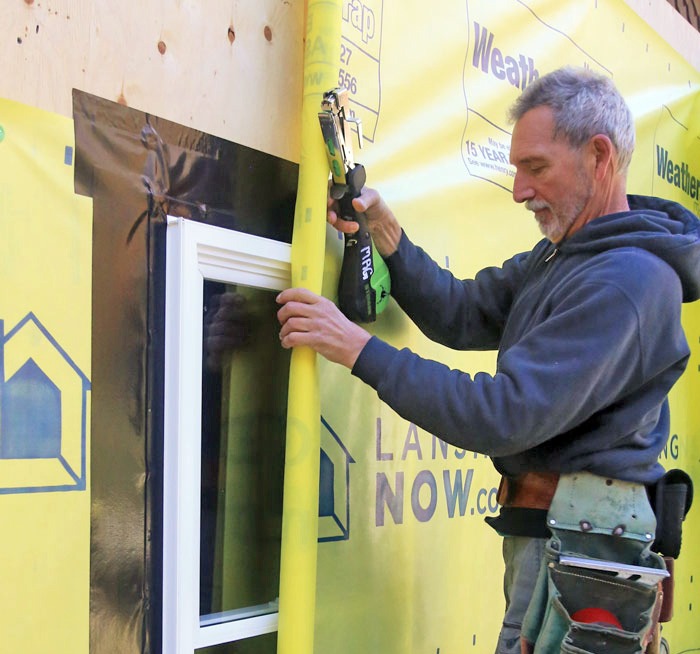
A watertight installation depends on sequence and technique more than materials alone.
- Layer correctly: Follow the “shingle-style” rule so that each upper layer overlaps the one below. This ensures water always flows down and out.
- Integrate with the WRB: Cut and lift the WRB so it overlaps the side and head flashings once the window is in place. This simple step is what keeps moisture from running behind the wrap.
- Use a sill pan: The sill is the area most prone to leakage. Whether pre-formed or built on-site, it should always slope outward to allow drainage.
- Seal wisely: Apply exterior-grade polyurethane or elastomeric sealant around the frame edges. Avoid blocking the bottom drainage points, which must remain open to let water escape. According to the University of Minnesota Extension, proper flashing and sealing must follow a top-to-bottom shingle pattern to ensure that water drains safely away from the wall cavity.
- Hire trained professionals: Proper flashing and sealing take precision. Experienced installers understand how each element interacts and how to prevent common errors.
Common Mistakes to Avoid
- Reverse flashing: When lower layers overlap upper ones, water gets trapped and directed into the wall instead of out.
- Sealing the sill edge: The bottom edge of a pan or frame must stay open. Sealing it turns the system into a water trap. The Wikipedia entry on architectural weeps describes how drainage openings at the base of window frames allow trapped water to escape, preventing hidden rot and pressure buildup behind the wall.
- Skipping the sill pan: Some low-cost installations omit this step entirely, leaving no path for drainage.
- Using interior-grade sealants: Cheap latex caulks degrade quickly outdoors and fail under UV exposure.
Each mistake may seem minor, but any one of them can lead to long-term damage.
Industry Insight
Professionals often debate which WRB or tape combination is most effective. Some builders now use “drainable” WRBs with textured surfaces that promote faster drying behind the siding. Others rely on traditional flat wraps combined with vented rainscreens.
Experts agree, however, that no single layer can prevent leaks forever. Sealants eventually age and fail, so the flashing and sill system must continue to protect the wall even after that happens. A good moisture management plan anticipates this reality.
Frequently Asked Questions (FAQ)
1. What should I consider for moisture management around windows?
Your primary consideration is the integration of the system. Ensure your installer is using a sill pan, is layering the flashing in the correct “shingle-style,” and is not sealing the bottom drain edge.
2. How do I choose the best flashing tape?
The best tape is one that is compatible with your WRB and climate. Butyl tapes offer superior “self-sealing” around nails. Acrylic tapes are far better if you are installing retrofit replacement windows in the colder Canadian months, as they will adhere at lower temperatures.
3. What are the advantages and disadvantages of this system?
The main advantage is a long-lasting, durable, and healthy home free of water damage and mold. The only disadvantage is the upfront cost and time. A proper installation takes longer and costs more than a “slap-and-seal” job, but it prevents thousands in future repairs.
Conclusion
Good window performance depends as much on installation as on product quality. A complete moisture management system – combining WRB, flashing tape, sill pans, and sealants – ensures that your home stays dry, durable, and energy-efficient.
When done correctly, it’s invisible, but its benefits are lasting. This careful attention to detail is what separates a routine installation from one built to endure Canada’s toughest conditions.